
Crusty Artisan Bread Recipe
So, you want bread that looks like it belongs in a French bakery window but tastes even better? Same. Crusty artisan bread Recipe is basically the culinary version of a warm hug—crispy, golden, and slightly chewy in all the right ways. Bonus: no fancy machines required, just a bit of patience, some elbow grease, and maybe a little bread-induced daydreaming.
Why This Recipe is Awesome
Let’s get real—artisan bread sounds intimidating, but here’s why this recipe is basically magic:
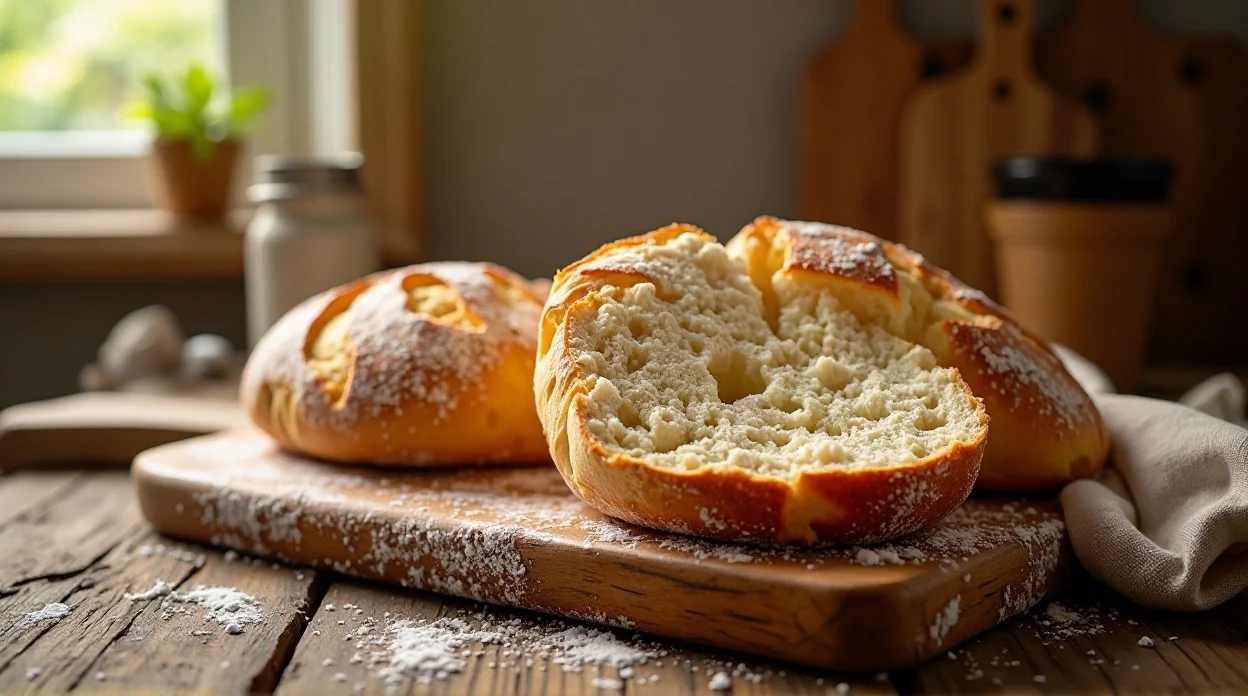
- Ridiculously crispy crust. That crackle when you slice it? Chef’s kiss.
- Soft, airy interior. Perfect for butter, jam, or just staring at it lovingly.
- No fancy equipment needed. No stand mixer? No problem. Just you, a bowl, and your hands.
- Impressively simple. Even if your baking history is “microwave popcorn and instant noodles,” you got this.
- Super versatile. Toast it, sandwich it, dip it—artisan bread is basically life’s Swiss Army knife.
- Once you make this, store-bought bread will look at you and weep silently.
Ingredients You’ll Need
Nothing weird—just good, honest ingredients:
- 3 cups all-purpose flour (or bread flour if you’re feeling fancy)
- 2 tsp salt (don’t skimp; flavor matters!)
- 1 tsp sugar (optional, but helps yeast party)
- 1 tsp instant yeast (active dry works too—just proof it first)
- 1 1/4 cups warm water (lukewarm, not “lava hot”)
- 1 tbsp olive oil (optional, adds richness)
Pro tip: measure your flour properly—too much and your bread is brick-like, too little and it’s soup.
Step-by-Step Instructions
- Activate the yeast. Mix warm water, sugar, and yeast in a bowl. Wait 5–10 minutes until bubbly. If it doesn’t foam, your yeast is sad and needs a do-over.
- Mix the dough. Add flour, salt, and olive oil to the yeast mixture. Stir until it forms a shaggy, sticky dough. Don’t panic—it’s supposed to be sticky.
- Knead it. On a floured surface, knead for 8–10 minutes until smooth and elastic. Pro tip: if your dough sticks too much, sprinkle a touch more flour—don’t go wild.
- First rise. Place the dough in a lightly oiled bowl, cover with a towel, and let it rise 1–2 hours until doubled. Time to binge a show or practice your bread appreciation skills.
- Shape the loaf. Gently punch down the dough and form a boule (round loaf) or batard (oval). Place on parchment paper or a lightly floured baking tray.
- Second rise. Cover and let rest for 30–45 minutes. The dough should puff up nicely.
- Preheat the oven. 450°F (230°C) with a baking tray or Dutch oven inside to get it super hot—this creates that legendary crust.
- Bake. Score the top with a sharp knife, then bake 25–30 minutes until golden and crackly. Optional: add a splash of water to a hot tray for steam—it’s crust magic.
Cool completely. Let the loaf rest on a wire rack for at least 30 minutes before slicing. Trust me—resist temptation.
Common Mistakes to Avoid
- Too much flour. Heavy dough = sad bread.
- Skipping the steam. No steam = meh crust. A splash of water or a Dutch oven lid is key.
- Underproofing. If the dough hasn’t doubled, your bread will be dense. Patience, young baker.
- Overhandling. Don’t punch, prod, or stress it. Dough has feelings too.
- Cutting too soon. Hot bread needs to chill; otherwise, it’s gummy inside.
Alternatives & Substitutions
- Flours: Try half whole wheat for a nutty twist. Bread flour gives extra chewiness.
- Yeast: Active dry works, just dissolve in water first.
- Add-ins: Rosemary, garlic, olives, or cheese make it gourmet with zero effort.
- Cooking method: Dutch oven = professional bakery vibes; regular tray = still delicious.
You can also try this lovely recipe: Classic Chicken Pot Pie Recipe
FAQ (Frequently Asked Questions)
Can I use a stand mixer?
Sure! Use the dough hook for 5–6 minutes, but hands-on kneading is oddly therapeutic.
Can I freeze the dough?
Absolutely. Freeze after the first rise in a sealed bag for up to 3 months. Thaw, shape, and bake.
How do I get an ultra-crispy crust?
Steam in the oven! Splash water on a tray or cover in a Dutch oven for first 20 minutes.
Can I make smaller rolls instead of a loaf?
Yep! Adjust baking time to 15–20 minutes depending on size. Mini artisan rolls = Instagram gold.
What if my bread is dense?
Likely underproofed or overfloured. Next time, trust the dough and measure carefully.
Can I use whole wheat flour?
Yes, but swap only half for the best results. 100% whole wheat = heavier loaf.
Final Thoughts
There you have it—a crusty artisan bread that will make your kitchen smell like a European bakery and your neighbors jealous. 🍞 It’s simple, forgiving, and ridiculously satisfying. Spread some butter, jam, or fancy olive oil, and feel like a culinary wizard. Now go impress someone—or just yourself—with your golden, crackly masterpiece. You’ve earned it. ✨
Crusty Artisan Bread Recipe
Ingredients
Method
- In a large bowl, mix flour, salt, and yeast.
- Add water and stir until a sticky dough forms.
- Cover bowl with plastic wrap and let rise 12–18 hours at room temperature.
- Preheat oven to 450°F (230°C) with a Dutch oven inside.
- Turn dough onto a floured surface and shape into a ball.
- Place dough carefully into preheated Dutch oven.
- Cover and bake 30 minutes; uncover and bake an additional 10–15 minutes until golden brown.
- Cool on a wire rack before slicing.
Notes
- High hydration dough = airy interior; don’t panic if sticky.
- Letting the dough rise overnight develops flavor naturally.
- For extra crunch, bake longer uncovered.
DID YOU MAKE THIS EASY RECIPE? If you have, then share it with us by sending a photo. We’re excited to see what you’ve made! 😊


