Healthy No-Bake Butterfingers – Sweet & Guilt-Free

Healthy No-Bake Butterfingers – Sweet & Guilt-Free
Ingredients
Method
- In a medium bowl, mix peanut butter, honey, and vanilla until smooth.
- Stir in oats and puffed rice cereal until evenly combined.
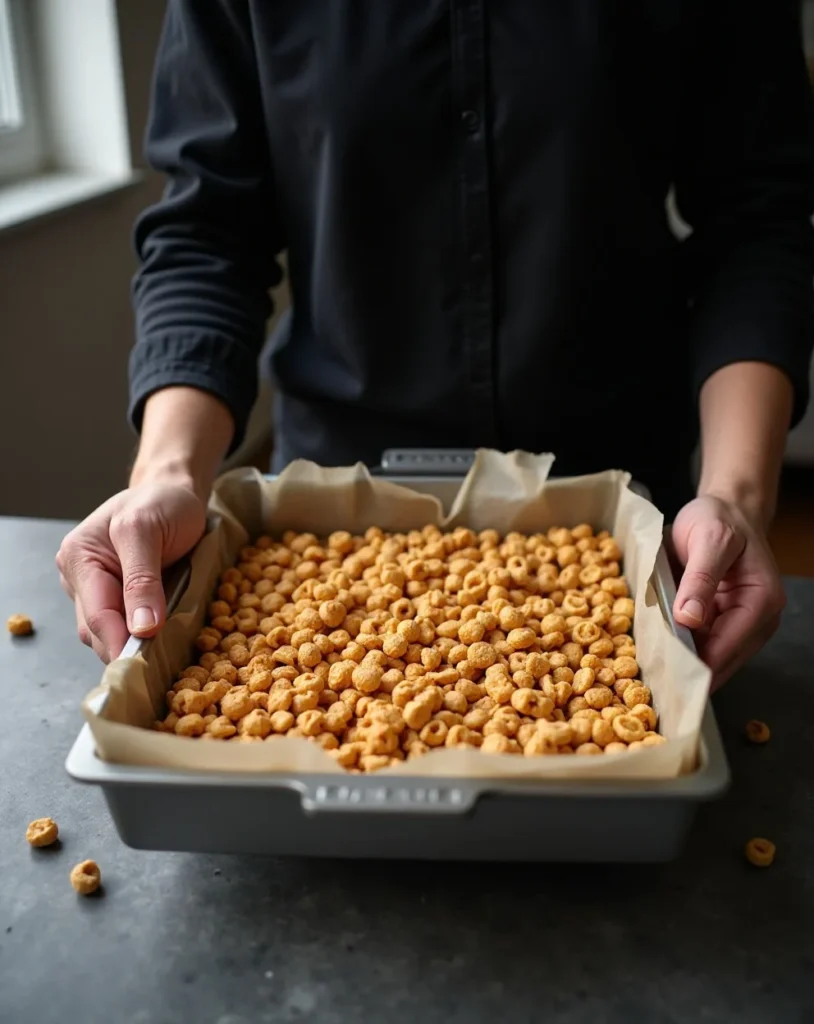
- Press the mixture into a lined 8x8-inch pan.
- Melt chocolate chips with coconut oil and drizzle over the top.
- Refrigerate for at least 30 minutes until firm.
- Cut into bars and serve chilled or at room temperature.
Notes
- Use natural peanut butter with no added sugar for a healthier version.
- Swap honey with maple syrup to make it vegan-friendly.
- Store in the fridge for up to 1 week or freeze for longer storage.
DID YOU MAKE THIS EASY RECIPE?
If you have, then share it with us by sending a photo. We’re excited to see what you’ve made.So you’re craving candy… but also trying to be that person who “eats healthy now”? Yeah, welcome to the club. 😅
Good news: these healthy no-bake Butterfingers are basically your sweet tooth’s cheat code. They taste like the classic candy bar you secretly love, but they’re made with simple, better-for-you ingredients and require exactly zero baking. Translation: maximum snack joy, minimum effort.
Honestly, if you can stir and freeze, you can make these. And if you can’t… well, we’ll still try. 😉
Why This Recipe is Awesome
Let me count the ways (because I’m dramatic like that):
- 5 minutes of effort. The freezer does the rest. You = genius.
- No oven. Which means no preheating, no sweating, no drama.
- Healthier than candy bars. No mystery ingredients or corn syrup chaos.
- Tastes legit nostalgic. Crunchy, peanut-buttery, chocolate-coated bliss.
- Meal-prep friendly. Make a batch, stash it, snack like a champion all week.
Also, FYI: these are naturally gluten-free and easy to make vegan, so basically everyone at snack time wins.
Ingredients You’ll Need
Short list. Big flavour. No weird stuff you can’t pronounce.
- 1 cup natural peanut butter – The drippy kind, not the cement-like kind.
- 2 tbsp maple syrup or honey – Sweetness with personality.
- 1 cup cornflakes (crushed) – The secret crunch hero.
- ¾ cup dark chocolate chips – Because chocolate is non-negotiable.
- 1 tsp coconut oil – Makes the chocolate silky and smooth.
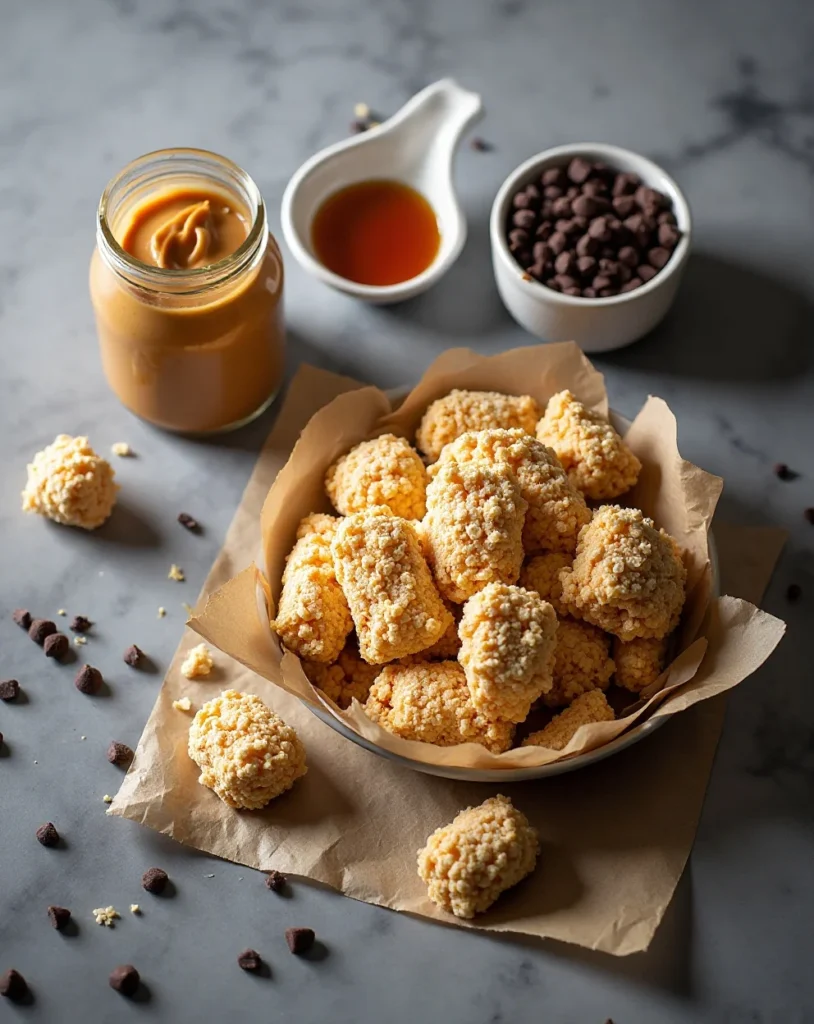
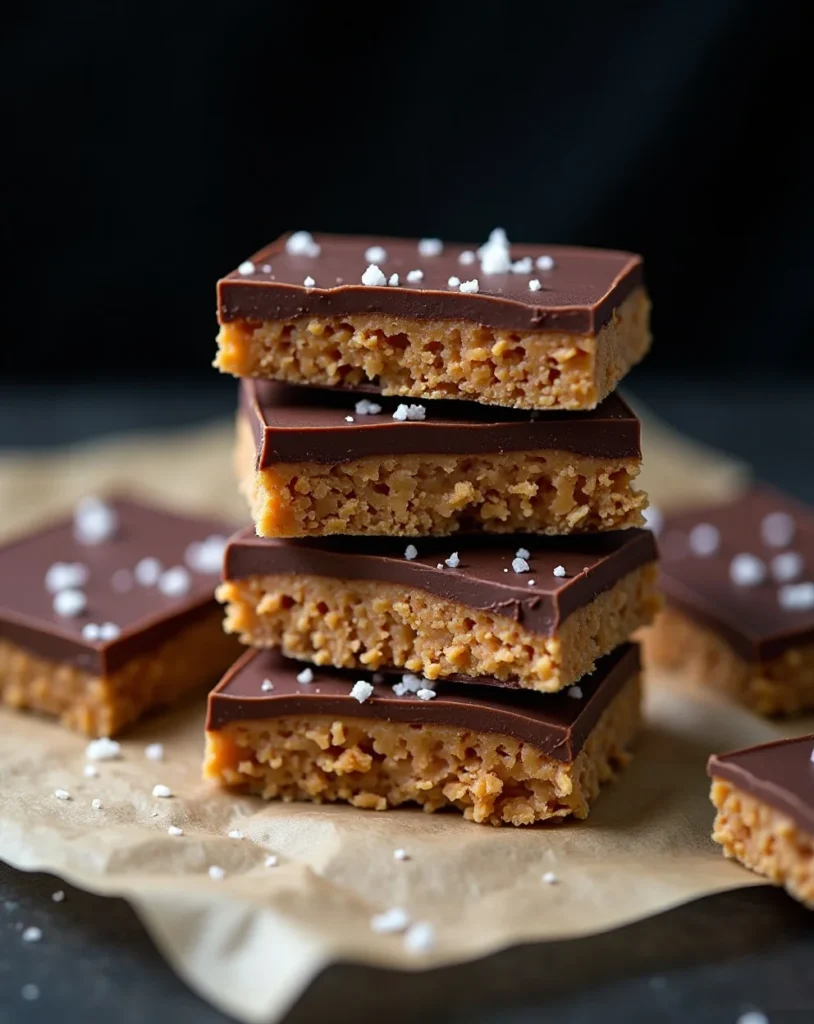
Optional but fabulous: pinch of sea salt for that sweet-salty glow-up.
Step-by-Step Instructions
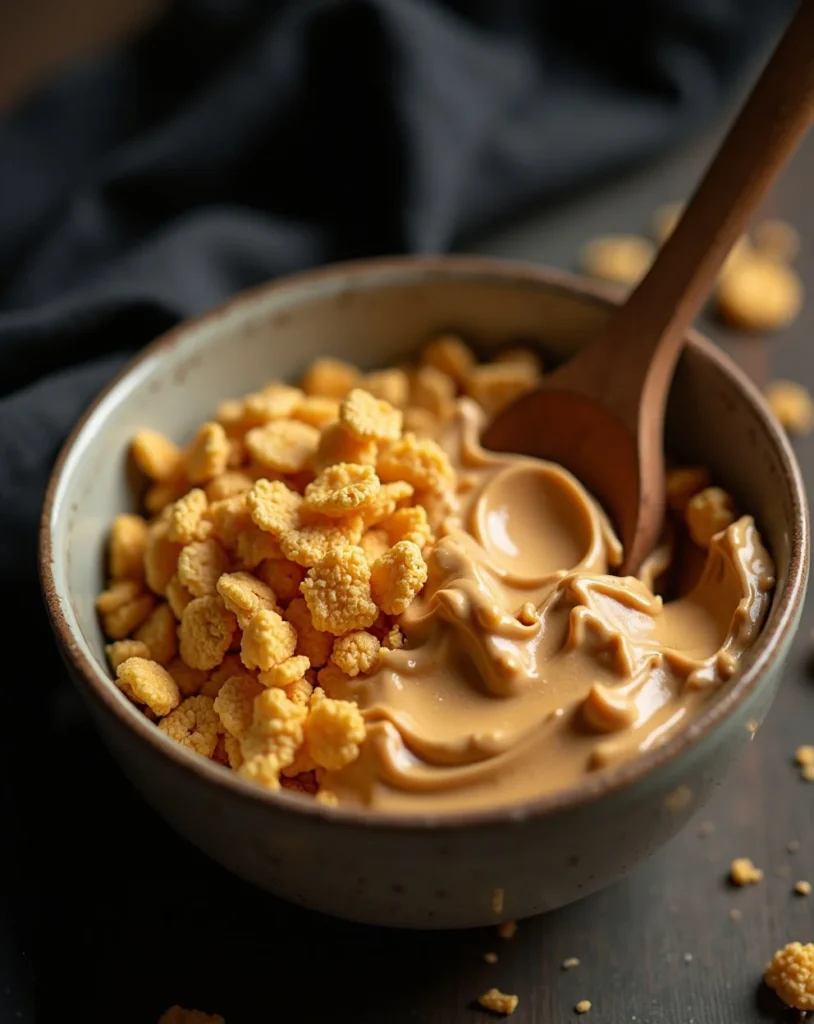
- Mix the peanut butter and sweetener.
In a bowl, stir peanut butter with maple syrup (or honey) until smooth and creamy. It should look glossy and irresistible. If you’re tempted to eat it right now… relatable. - Add the crunch factor.
Crush the cornflakes lightly with your hands or a spoon. Stir them into the peanut butter mixture until evenly coated. You want that classic Butterfinger-style texture—crumbly but cohesive. - Press into shape.
Line a small pan or container with parchment paper. Press the mixture firmly into an even layer (about ½ inch thick). Press hard so it holds together later—channel your inner pastry chef. - Freeze briefly.
Pop the pan into the freezer for about 15–20 minutes. This firms everything up so cutting and dipping doesn’t turn into chaos. - Melt the chocolate.
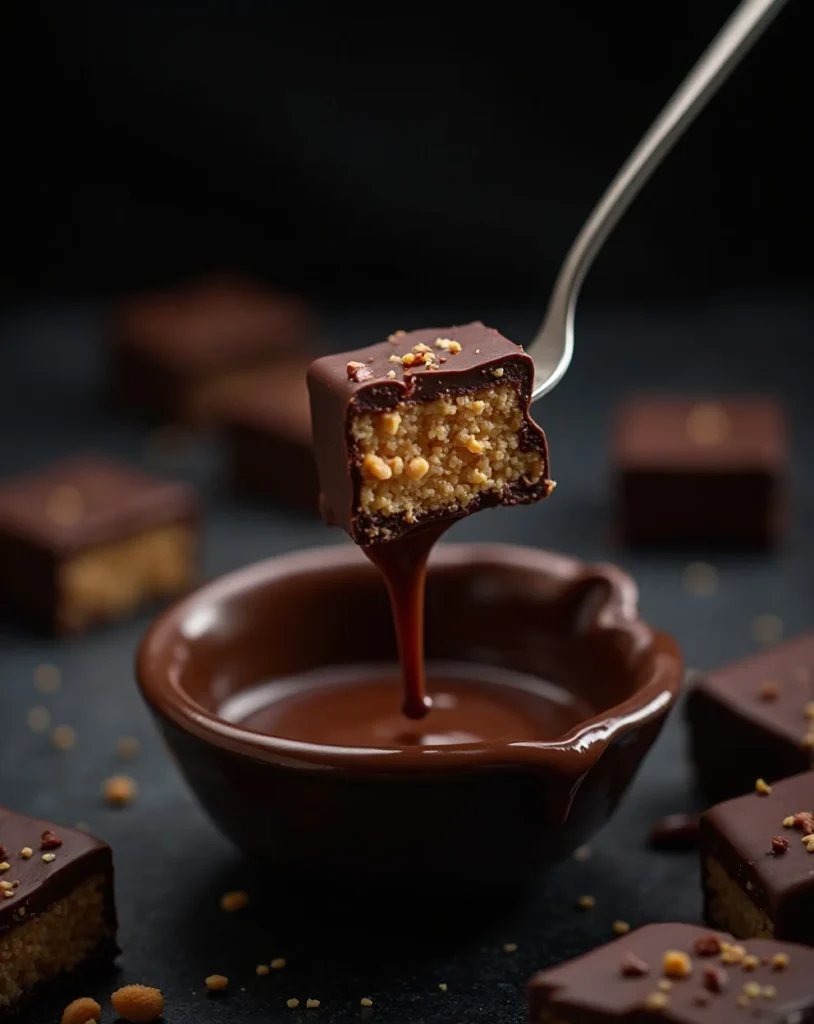
Microwave chocolate chips with coconut oil in 20-second bursts, stirring each time, until smooth. Don’t overheat or you’ll get chocolate sadness. - Cut and coat.
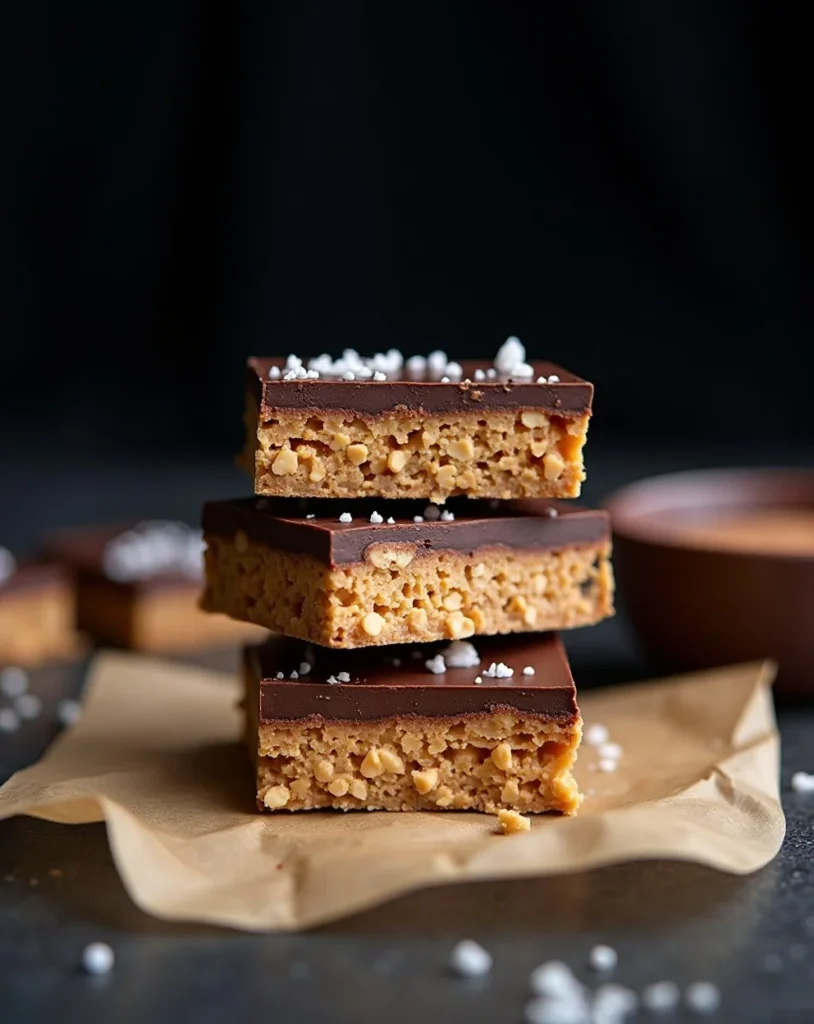
Remove the peanut butter slab and cut into bars or squares. Dip each piece into melted chocolate or drizzle it over the top. Messy = acceptable here. - Final freeze.
Place coated pieces back in the freezer for 5–10 minutes until chocolate sets. Done. Candy achieved. Snack glory unlocked.
Common Mistakes to Avoid
- Using stiff peanut butter.
If it doesn’t stir easily, your mixture won’t bind well. Natural, creamy peanut butter works best. - Not pressing the mixture firmly.
Loose packing = crumbly candy. Press it down like you mean it. - Overheating chocolate.
Burnt chocolate tastes like regret. Melt slowly and stir often. - Skipping the freeze step.
Trying to cut warm peanut butter mix is… ambitious. Chill first, save sanity. - Making bars too thick.
Thick slabs = chocolate coating meltdown. Keep them snack-size.
Alternatives & Substitutions
Because sometimes your pantry and your cravings don’t align.
- Nut-free version:
Use sunflower seed butter instead of peanut butter. Still delicious, still crunchy. - Different cereal:
Rice Krispies work great. Texture shifts slightly, but crunch remains elite. - Sweetener swap:
Agave or date syrup works if that’s your vibe. IMO, maple syrup gives the best flavour. - Chocolate options:
Milk chocolate for sweeter candy vibes. 85% dark if you’re feeling sophisticated and mysterious. - Extra protein boost:
Add 1–2 tbsp vanilla protein powder. You’re basically eating a candy-bar protein bite now.
FAQ (Frequently Asked Questions)
Can I store these at room temperature?
You can… briefly. But they soften fast. Freezer storage = best texture and clean bites.
Do they really taste like Butterfingers?
Shockingly close. Crunchy peanut centre + chocolate shell = nostalgic candy energy without the artificial stuff.
Can I use crunchy peanut butter instead?
Yes, but reduce cereal slightly or the mixture gets too crumbly. You want balance, not gravel.
How long do they last?
About 2 weeks in the freezer. Realistically? 3 days before you eat them all. Be honest.
Can I skip the chocolate coating?
You could… but why sabotage joy? The chocolate shell is half the experience.
Are these actually healthy?
Healthier than candy bars, yes. Still a treat, not kale. Think “better indulgence,” not diet food.
Can kids help make these?
Absolutely. No oven, simple mixing, and chocolate dipping = kid-safe cooking win.
Final Thoughts
These healthy no-bake Butterfingers are proof that homemade treats don’t need to be complicated to be amazing. They’re crunchy, chocolatey, peanut-buttery perfection—and they come together faster than it takes to scroll snack recipes you’ll never make. 😄
Make a batch, stash them in the freezer, and suddenly you’re the person who “always has good snacks.” Impressive? Yes. Effort level? Minimal.
Now go treat yourself—or casually impress friends—with your new freezer candy skills. You’ve earned it. 🍫✨


