
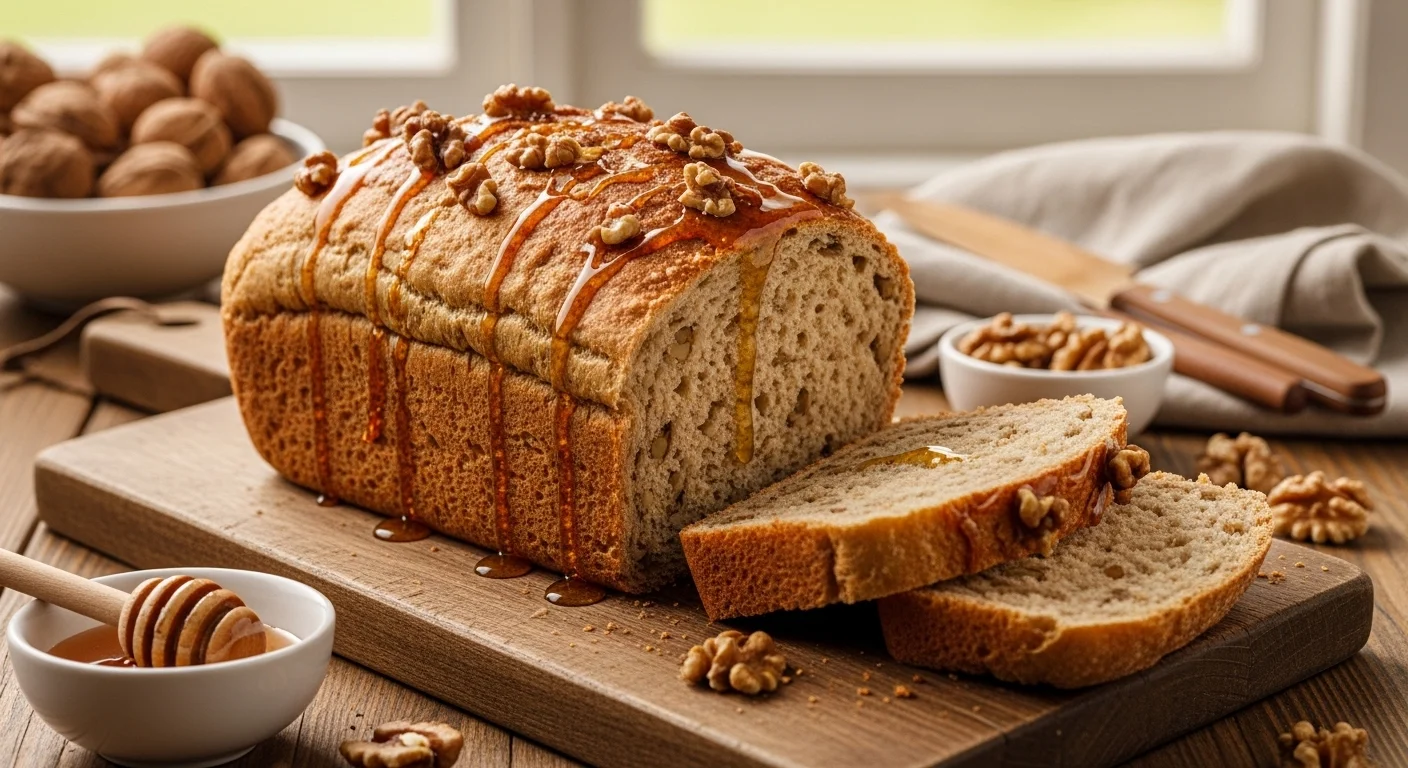
Spelt Flour Honey Walnut Bread Recipe
So you want homemade bread… but you also don’t want to spend the next six hours kneading dough like a medieval baker, right? Totally fair. Good news: Spelt Flour Honey Walnut Bread is the cozy, slightly fancy loaf that tastes as if it came from a rustic countryside bakery—but it’s surprisingly easy to make at home. It’s nutty, lightly sweet from honey, and packed with crunchy walnuts that make every bite interesting.
Plus, your kitchen will smell so good while it bakes that neighbors might suddenly become very friendly. Coincidence? I think not.
Why This Recipe is Awesome
Let’s talk about why this bread deserves a spot in your baking rotation.
First, spelt flour gives the bread a naturally nutty flavor and slightly rustic texture. It’s like regular wheat flour’s cooler, more sophisticated cousin. Second, honey adds natural sweetness without making the bread dessert-level sugary. It’s just enough to make you go, “Hmm… one more slice won’t hurt.”
And then there are the walnuts. Crunchy, earthy, and basically the MVP of this loaf.
Other reasons you’ll love this recipe:
- Simple ingredients you probably already have
- No complicated baking techniques
- Perfect for breakfast, snacks, or late-night carb cravings
- Makes your kitchen smell like a bakery
And honestly? Fresh homemade bread feels like a life achievement. Even if everything else today went sideways.
Ingredients You’ll Need
Grab these ingredients before we start. Nothing weird here—promise.
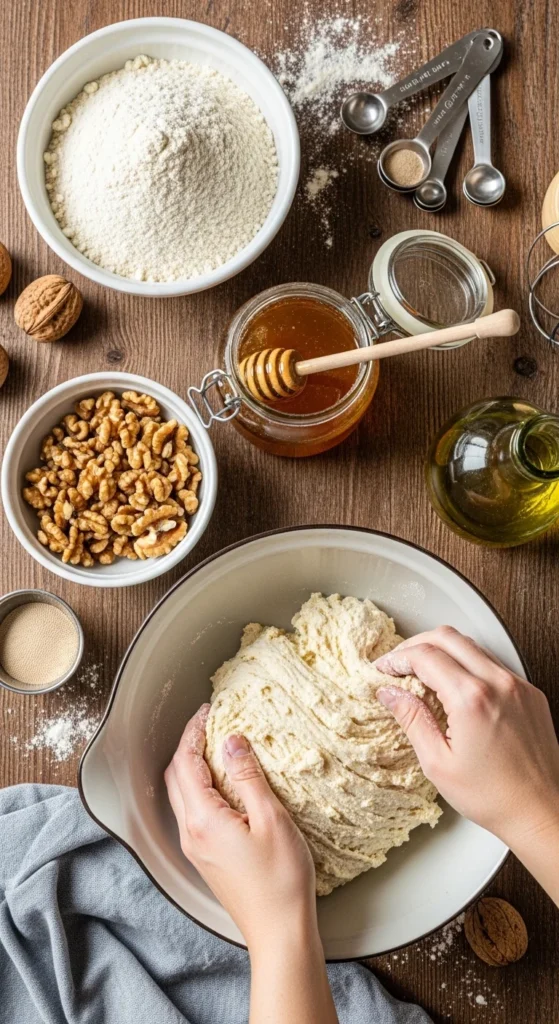
- 2½ cups spelt flour – The star of the show. Nutty and wholesome.
- 1 packet (2¼ tsp) active dry yeast – The tiny organisms that make bread magical.
- 1 cup warm water – Not hot. Think cozy bath, not volcano.
- 3 tbsp honey – Natural sweetness and flavor boost.
- 2 tbsp olive oil – Keeps the bread soft and tender.
- 1 tsp salt – Because bland bread is just sad bread.
- ¾ cup chopped walnuts – Crunchy goodness in every slice.
- Optional: 1 tbsp flaxseeds or chia seeds – for added health benefits.
Pro tip: Toast the walnuts for 3–4 minutes before using them. It makes the flavor way richer.
Step-by-Step Instructions
Follow these steps, and you’ll have warm homemade bread before you know it.
1. Activate the Yeast
- Pour the warm water into a large bowl. Add honey and yeast, then stir gently. Let it sit for 5–10 minutes until it gets foamy.
- If nothing happens, your yeast might have expired. Sorry, but better to find out now.
2. Mix the Dough
- Add olive oil and salt to the yeast mixture. Gradually stir in the spelt flour.
- Mix until a soft dough forms. It should feel slightly sticky but manageable.
- Tip: If it sticks to everything like glue, sprinkle a little more flour.
3. Add the Walnuts
- Fold the chopped walnuts into the dough. Try to distribute them evenly so every slice gets some crunchy goodness.
- IMO, walnuts make this bread 10x better, so don’t skimp.
4. Knead the Dough
- Place the dough on a lightly floured surface and knead for about 8 minutes.
- Push, fold, repeat. It’s oddly therapeutic.
- The dough should become smooth and slightly elastic.
5. Let It Rise
- Place the dough in a lightly oiled bowl and cover with a towel.
- Let it rise for about 1 hour or until it doubles in size.
- Important: Put it somewhere warm. Yeast hates cold environments almost as much as we hate Mondays.
6. Shape the Loaf
- Punch down the dough gently (yes, literally punch it).
- Shape it into a loaf and place it in a greased loaf pan.
- Let it rise again for 30 minutes.
7. Bake the Bread
- Preheat your oven to 375°F (190°C).
- Bake the loaf for 30–35 minutes until golden brown and your kitchen smells amazing.
- Tap the bottom of the loaf—if it sounds hollow, it’s ready.
8. Cool Before Slicing
- Let the bread cool for at least 15 minutes before slicing.
- Yes, waiting is hard. But slicing hot bread can make it gummy.
Common Mistakes to Avoid
Even easy bread recipes have a few traps. Here’s what to watch out for.
- Using water that’s too hot
Hot water kills yeast. Dead yeast = flat bread. Not ideal. - Skipping the second rise
Patience, my friend. The second rise makes the bread fluffy. - Adding too much flour
It’s tempting, but too much flour makes the loaf dense. Nobody wants brick bread. - Not checking yeast freshness
If the yeast doesn’t foam, it’s basically useless. FYI.
Alternatives & Substitutions
Don’t have everything on hand? No problem.
- No spelt flour?
You can use whole wheat flour or a mix of whole wheat and all-purpose flour. - No honey?
Maple syrup works beautifully and adds a slightly different flavor. - Not a walnut fan?
Swap them for pecans, almonds, or sunflower seeds. - Want sweeter bread?
Add a handful of raisins or dried cranberries.
Personally, I love adding walnuts and raisins together. It’s a bakery-level combo.
FAQ (Frequently Asked Questions)
Can I make this bread without yeast?
Technically, yes, but then it becomes quick bread instead of classic bread. Yeast gives the loaf its airy texture.
Can I use all-purpose flour instead of spelt?
You can! But the flavor will be milder. Spelt gives the bread its signature nutty taste.
How do I store this bread?
Keep it in an airtight container at room temperature for 2–3 days.
For longer storage, slice and freeze it. Toast it later—problem solved.
Can I add more honey?
Sure. Just don’t go overboard unless you want dessert bread.
Why is my bread dense?
Usually one of these happened:
- Too much flour
- Not enough kneading
- The yeast didn’t activate
Bread baking is basically tiny edible science experiments.
Can I make this bread vegan?
Yes! Just make sure your honey substitute is maple syrup or agave.
Can I toast this bread?
Oh absolutely. Toasted with butter or cream cheese is next-level delicious.
Final Thoughts
And there you have it—your very own loaf of Spelt Flour Honey Walnut Bread. Warm, nutty, slightly sweet, and ridiculously comforting. The best part? Once you make homemade bread, store-bought loaves start feeling… well… a little boring. So grab that knife, slice yourself a piece, slather on some butter, and enjoy the moment.
Now go impress someone—or just yourself—with your new baking skills. You’ve officially joined the homemade bread club. 🍞✨
Spelt Flour Honey Walnut Bread Recipe
Ingredients
Method
- Preheat oven to 350°F (175°C) and grease or line a loaf pan with parchment paper.
- In a large bowl, mix spelt flour, baking powder, baking soda, salt, and chopped walnuts.
- In another bowl, whisk together milk, honey, olive oil, egg, and vanilla extract.
- Pour the wet ingredients into the dry ingredients and stir until just combined.
- Transfer the batter into the prepared loaf pan and smooth the top.
- Bake for 35–40 minutes until golden and a toothpick inserted comes out clean.
- Let the bread cool in the pan for 10 minutes, then transfer to a rack to cool completely.
- Slice and serve warm or toasted.
Notes
Use fresh walnuts for the best flavor and crunch.
You can add a sprinkle of oats or extra walnuts on top before baking.
Store in an airtight container at room temperature for up to 3 days.
Slices can be frozen and reheated when needed.


